
Anchor (Tutorial)
February 28, 2013A really cute and easy anchor and stripes nail art design.

What you'll need:
- Base Coat
- Top Coat
- White Polish
- Blue Polish
- White Paint
- Striping Tape
- Clipper/Scissors
- Dotting Tool
- Detail Brush
Start by applying a base coat.
Then paint your ring finger blue, and the rest white.

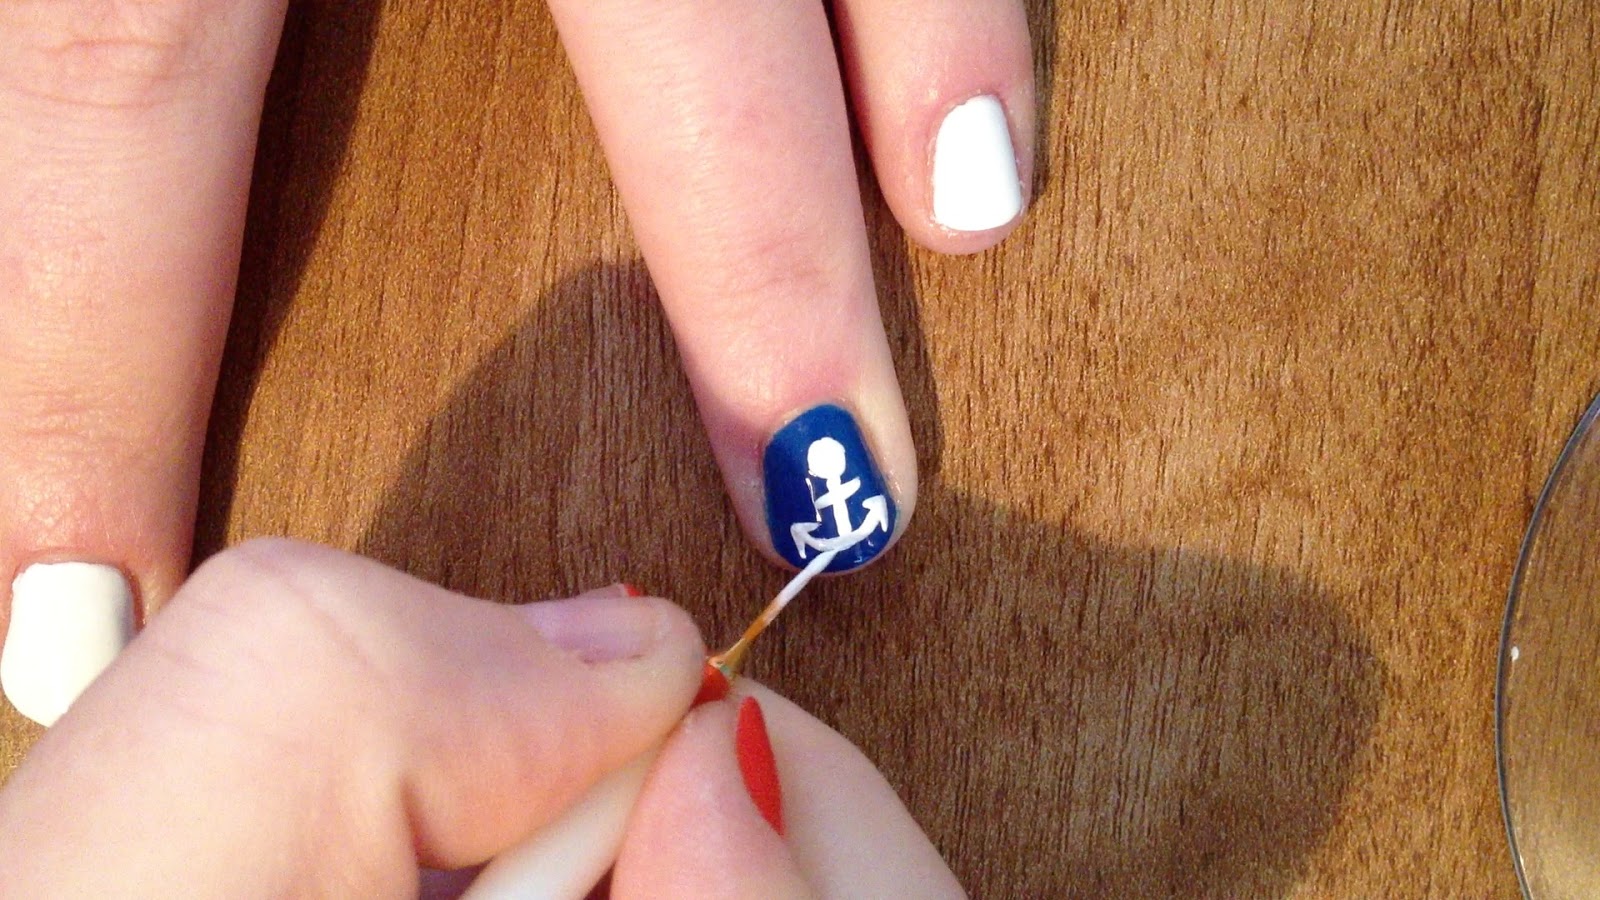
On the ring finger nail:
Create a big white dot near the top of the nail.

Then paint a line coming down from the dot.

Add a curved line across the bottom.

Add a small horizontal line going through the centre of the vertical line.

Paint two small triangles/arrow shapes at each end of the curved line.
Then add a small blue dot inside the bigger white dot.

On the rest of the nails that are painted white:
Place horizontal strips of tape across the nail and press them firmly onto the nail.

Once all tape is applied, paint a coat of the same blue you used for the ring finger across the tape.

Then while the polish is still wet, pull of the tape.

Finish with top coat.

Products used:
- Base coat - Strong Adhesion by China Glaze
- Top coat - Good To Go by Essie
- White - Alpine Snow by OPI
- Blue - Cobalt Blue by Barry M
- Cuiticle clippers (to cut the striping tape)
- A reel of striping tape
- Dotting tool
- Detail brush

To watch the video tutorial for this design visit my youtube: http://www.youtube.com/boomnailart
Thanks!
& if you try out any of my designs I would love to see pictures :)
Facebook: http://www.facebook.com/BoomNailArt
Instagram: @NatalieNicoll #BoomNailArt
Twitter: @NatalieNicoll #BoomNailArt


0 comments